A few days ago, I had this bright idea that I would replace the shower arm and flange in my master shower. My master shower is really small, and its shower arm is a whopping 9” long.
I tried to unscrew the shower arm, but it wouldn’t budge. After a lot of straining, I finally got some movement, and then I got that sickening feeling of “something turning not for the right reason.”
It turns out that I separated the 90° piece from the copper pipe! In the process of getting the arm out, I also broke some tile. (I stupidly believed that if I yanked hard enough, the surrounding tile would neatly come off. NOT!)
The enlarged opening, with a mangled copper pipe behind it:
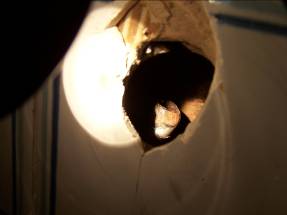
The 90° piece that’s not supposed to come off:

This is not even the correct piece for showers. The correct piece would have bolted up to a piece of wood on the back, making it impossible for it to have twisted the supply line like this.
This is bad. Now I have to take apart some of the shower wall.
Fast forward to today.
I start out with a hole in my shower wall:
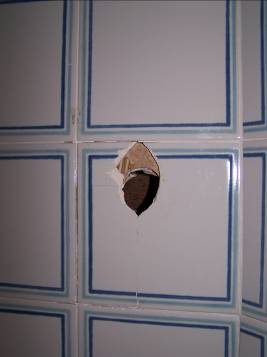
I used a Dremel with a cut off wheel to remove the grout between that tile and the adjacent tiles. Here’s the Dremel with the cut off wheel installed:
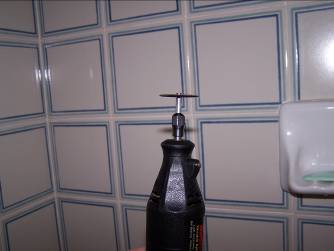
This was just the standard, fiberglass-reinforced metal cutting wheel.
I went through 1½ of those wheels to remove the grout. Here’s a detail shot:
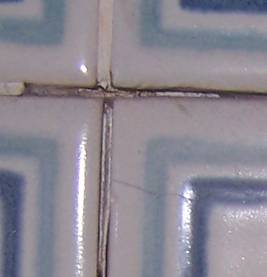
(I love 5 megapixels! This shot was taken at a distance.)
I tried cutting through the drywall behind the tile with a hacksaw blade. I couldn’t get good leverage or speed, so it was plodding slowly and sloppily. A trip to Home Depot and a compact hacksaw purchase saved me:
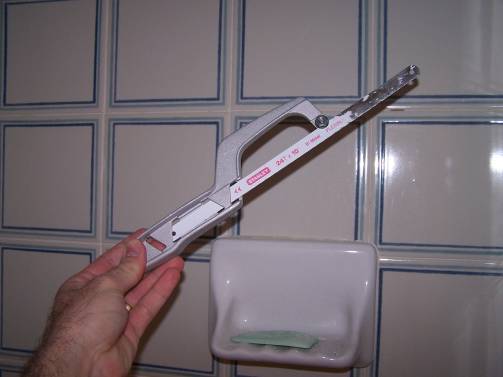
With this thing I just sailed through the drywall.
Hallelujah, the tile and drywall are out, and better yet there is drywall behind the drywall! I have a surface to glue my drywall square to when I am done. Take note of the mangled pipe:

Here’s the drywall/tile square:
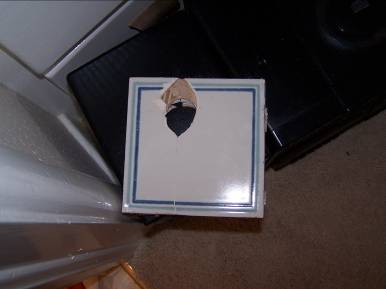
A few minutes later I hacksawed the mangled piece off the end of the supply line:
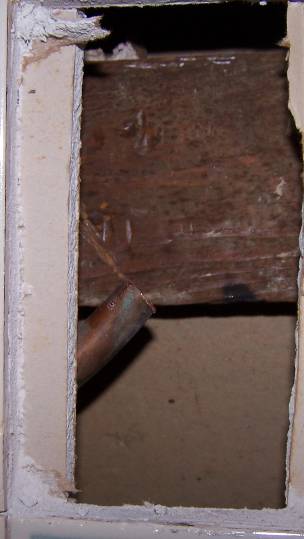
Here it is:

Uh, oh, notice the not rounded shape? Argh!
I spent the next several minutes coaxing the supply line to a rounded shape so that I could fit a coupling over it. After massaging with some channel lock pliers and a Dremel bit and hammering the coupling on with the pliers, I finally got the coupling over the supply line.
Notice in a previous picture how there is a large wood piece behind the supply line? I measured that there is a ¾” gap between this wood piece and the supply line. Luckily, I had ¾” thick wood in the garage. A few minutes later and this is what I ended up with:
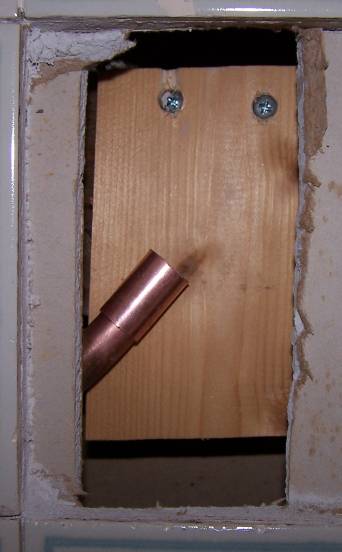
The two wood screws on the top were only about 1” long. That’s all I had. That left a scant ¼” of screw length to bite into that other wood piece, so I had to countersink their holes just over ¼”. That way these wood screws could bit and secure themselves in the backing wood.
Before I went too much further, I placed the tile back into position and put a copper pipe through to line up where the piping needs to end up:
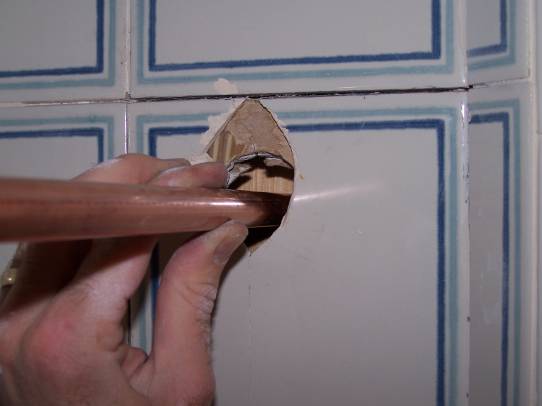
This let me put some crosshatches where things should end up:
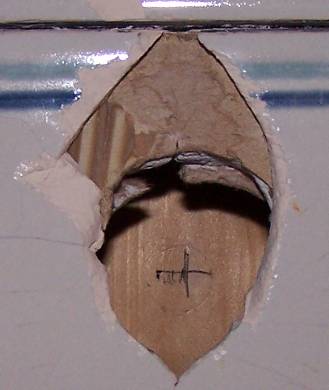
You’re looking through the tile to that wood piece I bolted on.
A few minutes later I sweat soldered the coupler to the supply line:
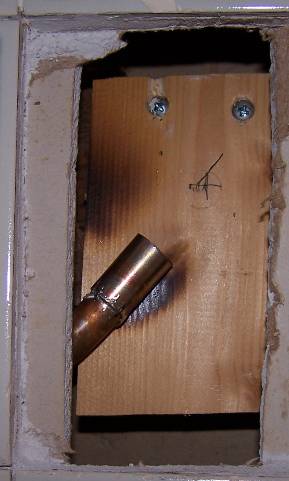
Notice the burn marks? I aimed a propane torch at the pipe while soldering. The fire wandered a bit.
Before making the final solder, I need to test fit everything:

I somehow managed to make the pipe end up just a hair to the right of where it used to be. In the end it still worked out OK. See the washers behind the supply line? In the process of mangling the supply line and forcing the coupler on, I bent the line a hair so that it was slightly angled away from me. I used the washers to force the line to face parallel to the wall so that I could slip the 90 degree fitting in.

By the way, I had already soldered a short length of copper pipe to the 90 degree fitting that the shower arm is screwed into.
Now I sweat solder the last joint, the top of the coupler:

The wood is even more scorched! The top left side burned on its own at one point. I was able to just blow it out.
Now it’s time for a leak test:

Passed with flying colors! (The only thing that leaked was the pipe plug itself. I didn’t screw it in tightly enough.) Oh, yeah, notice that the 90 degree fitting is now screwed into the wood piece.
Liquid Nails will hold the tile/drywall square once I put it back on:

Yay!

Fixing the broken tiles with latex caulk:

It’s not a perfect cosmetic fix, but it will keep the area dry at least.
Doesn’t look that bad:

My very messy grout job:

Here’s the whole thing all cleaned up with a new showerhead:

Yay!
I was going to replace the shower arm in the hallway bath, but I changed my mind. That shower arm is not secured to anything, so I would probably be stuck with the same situation if I mess with it.