We have hummingbirds!

Yesterday, as we were leaving to go feed the local ducks some nasty stale bread, we spotted a hummingbird in our landscape. It was feeding on a cardinal flower, a plant that attracts these birds. I got these shots with my camera at its full 10x zoom while sitting in the car. As soon as I opened the door to get out and get a closer shot, the bird left.

Yet another oft-repeated urban legend is that you don’t see many hummingbirds in cities because of pollution or what not. In fact, a cursory Google search shows hummingbirds are highly adaptable animals.

Sure, spot pollution problems can disrupt a hummingbird population, but they can thrive in urban environments.

St. Augustine Decline and Palmetto

It looks like all the grass I planted in Sept. 2004 may be infected with St. Augustine Decline (SAD). What bad luck!

SAD is an untreatable virus that causes the grass to weaken and die away within a couple of years. SAD shows up as a mottled yellow appearance on an otherwise normal grass blade.

Last summer, I noticed some of my new grass had the mottled appearance. I didn’t think much of it because the grass seemed fine otherwise. This year, the temperatures are now warm enough for the grass to start coming back. Early last week, I noticed this same mottled appearance. After looking around, I noticed areas all throughout this new grass that has the mottled appearance.

Here are some pictures of this mottled grass:

I called my grass supplier to ask about this, and they were surprised. I spoke to the office manager and then the company owner, and both were certain that the variety I purchased, Palmetto St. Augustine, was as resistant to SAD as Raleigh. Palmetto is presented as being a step up from Raleigh on their site (link). In fact, the owner said he had a planting of Palmetto himself (not sure if it was in his own lawn?), so he was especially concerned. At first, he wondered if it could have been something else like gray leaf spot. However, I can find no other St. Augustine problem that matches the appearance in the photos. Compare for yourself: Google image search of SAD and an especially good, high resolution photo of SAD-infected grass.

The company owner promised that he or or his office manager would come out in the next few days and take a look at the grass. I put orange flags in the lawn to delineate a few significant spots of the affected grass. Each of the bright orange places is a flag:

This is just one section of the back yard. This problem shows up all over the new planting.

As far as I am aware, the only sure-fire treatment is to remove the grass and a few inches of soil and replace it all with new soil and grass. This is a major undertaking. I don’t look forward to this even if I don’t end up having to do it. It is possible to plant a SAD-resistant variety like Raleigh and hope it overtakes the existing grass as it dies out. However, by keeping the infected grass, I risk infecting the rest of my yard, which is almost 100% St. Augustine and which could be the SAD-susceptible common variety. (It’s quite possible that it is the original stand of grass from the 1950s. Raleigh came out in 1980.)

So far, none of my original stand of grass–the whole front yard and a little of the back yard–are showing any symptoms of SAD. This could be in part because I mow the front yard first, then mow the back yard. The mower sits for several days in a hot garage before it gets used again. If I was to transmit the virus anywhere, I think it would probably be to the small original stand in the back yard.

The fact that I have no SAD anywhere else eliminates my existing lawn as a culprit. Furthermore, neither I nor the previous owner use a lawn service, so there is no chance that this lawn picked up the disease from another lawn.

I really hope this is ends up being a false concern or a misidentified, treatable problem. I don’t want to go through a yard replacement.

Compact Fluorescent Bulbs Pay Off Handsomely


Typical compact
fluorescent bulb.

Over the past two years, I have gradually replaced most my light bulbs with compact fluorescent bulbs.

Many claim these bulbs save a ton of money, but they cost a lot. Try $8 for a new compact fluorescent bulb that is equivalent to a $0.50 100W incandescent. Do they really pay off?

Here’s the math:

Bulb Type Incandescent Compact Fluorescent
Wattage 100 27
Bulb lifetime 1500 10000
Initial cost $0.50 $8
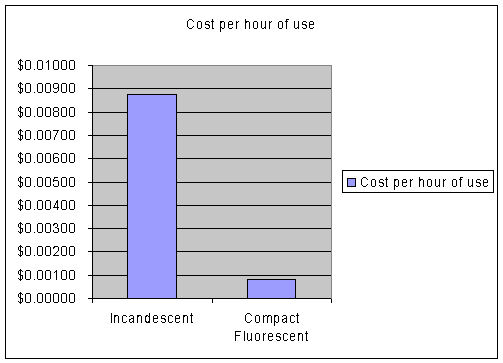
Cost per hour of usage $0.00874 $0.00080
Cost per year of typical usage $25.53 $2.34

Two assumptions using this math:

  1. Electricity costs $0.0841 per kWh, which is the 1998-2003 average according to the US Department of Energy (link).
  2. “typical usage” is 8 hours a day: 2 hours in the morning and 6 hours at night.

Regardless of one’s typical usage, it is abundantly clear that, even after accounting for the initial cost, compact fluorescent bulbs overall cost about a tenth to run as traditional bulbs. Most of this is due to their lower energy usage, but part is due to their dramatically increased life span.

90% of the energy consumed by incandescent bulbs are kicked off as heat. This calculation does not catch two things related to that:

  1. If you live in a warm climate, you run the A/C far more than you run the heater. If you create more heat in the house, guess what happens to your electricity bills? They go up because you have to use the A/C even more.
  2. Even if you live in a cold climate–where you run the heat far more than A/C–you are still better off running compact fluorescents unless you have a house exclusively heated by electricity. Gas/propane/oil heating cheaper than electric heat, so while the incandescent bulbs could slightly reduce central heater utilization, you are effectively supplementing a “cheaper to operate” heater with a more expensive one.

CF bulbs have even more advantages. By reducing demand, they can extend the usable life of lower capacity electrical systems that are common in older houses. Thanks to lower heat output, they are safer, especially in lamps or in older houses where certain exposed light fixtures are installed in locations where they wouldn’t be allowed today.

Compact fluorescent bulbs definitely pay off!

Relandscaping, Part 5

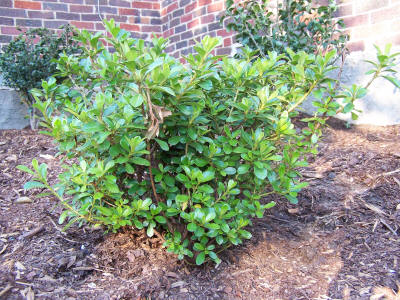
Here are details of the plants we used.

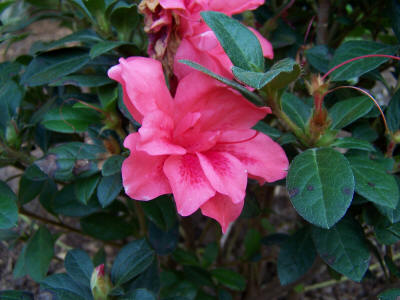
Encore Azalea
Prolific bloomers, tolerant of full sun, dwarf habit. We got two shades of red for the front and white along the side.

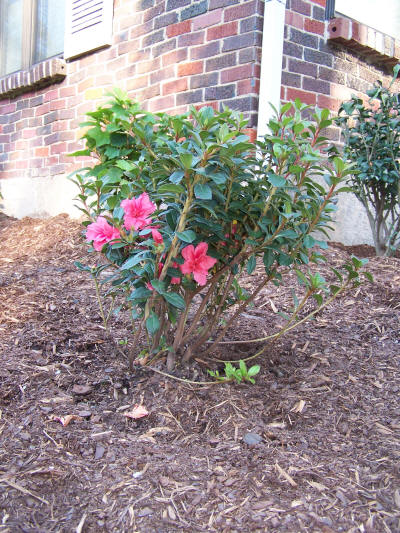
Salvia
These are planted between the azaleas. They almost look like bluebonnets when in bloom.

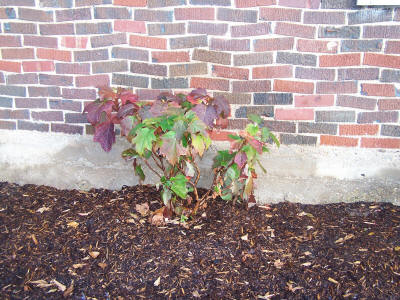
Oak Leaf Hydrangea

Fall colors (I thought I had a better picture somewhere, but I could not find it):
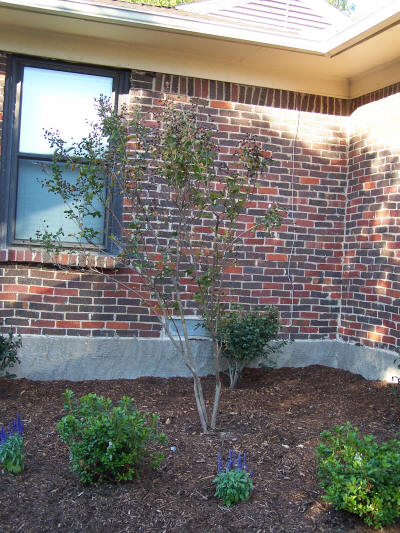
DynamiteCrape Myrtle
This has a vibrant red color and is a prolific bloomer.
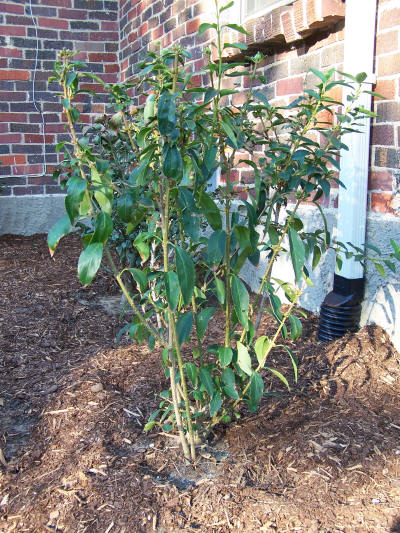
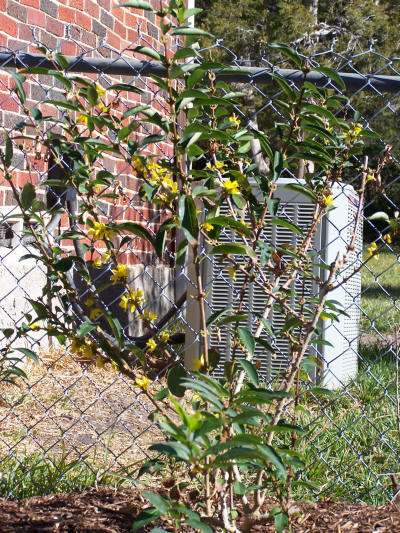
Forsythia
These have tons of yellow blooms in the fall.
Fall flowers:

Burning Bush Euonymus
Vibrant red fall color.
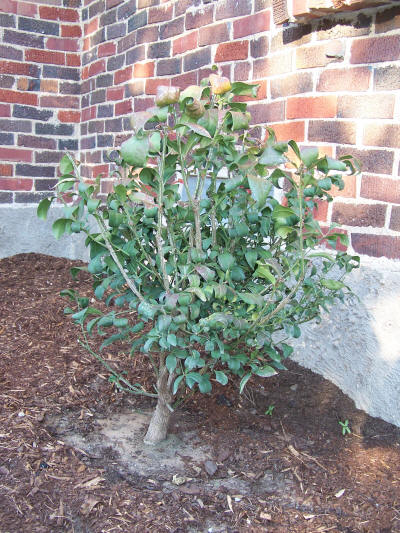
Fall colors:

Doggitus Stupidus
It was a moment of indiscretion.

The next few plants are in front of the walkway.

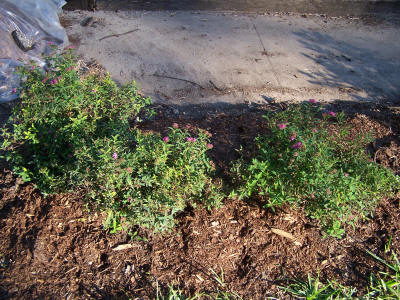
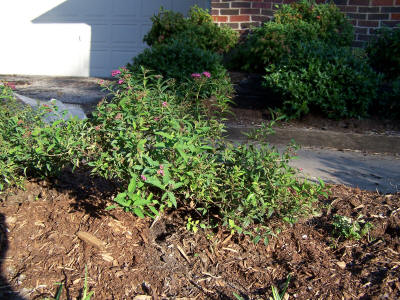
Anthony Waterer Spiraea
Maybe it’s named “waterer” because, like the other plants, it likes to gobble up water? It will have lots of little pinkish flowers when in bloom.
Sedum
This tiny succulent turns a nice red in the fall.

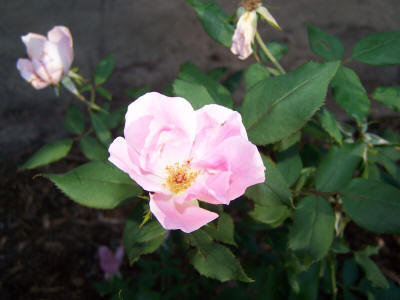
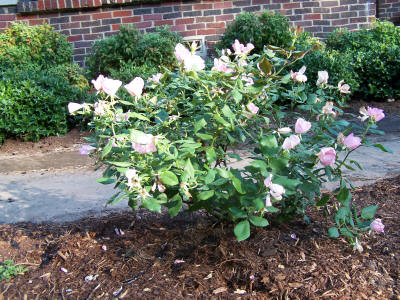
Knockout Rose
This is a crazy rose bush. It just won’t stop blooming regardless of how poorly you treat it. The flowers have no fragrance, but this is definitely a good low water plant.
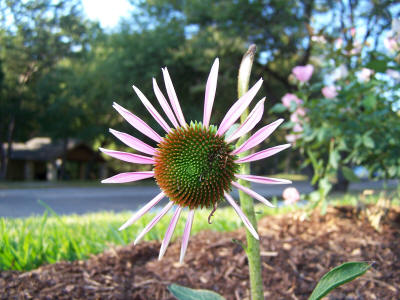
Purple Coneflower
This one is in the early stages of a bloom.
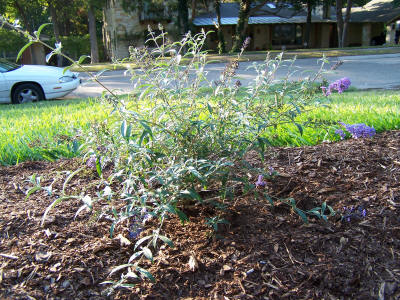
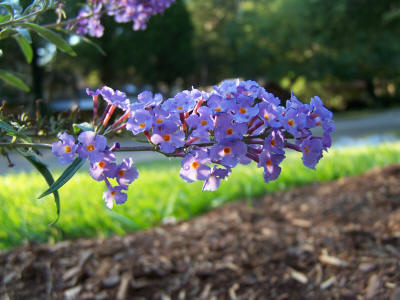
Butterfly Bush
Attracts butterflies. Seriously! Lots of nice, vibrant, small flowers.
Cardinal Flower
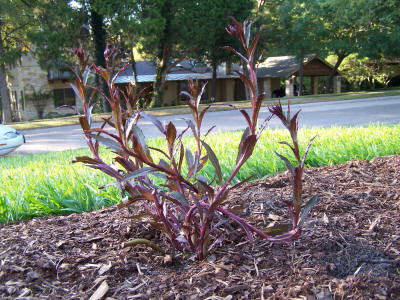
Gold Flame Spiraea
Not quite sure what this does yet.

Black Eyed Susan

Holly and Nandina
This is our pre-existing row of nandinas and hollies.

The hollies had a horrible shape when I moved in. I hacked the back to stumps two winters ago. They have grown back nicely.

Fall colors:

Viburnum and Hosta
We have both David and burkwood viburnums in the back yard. Between them is a patriot hosta.

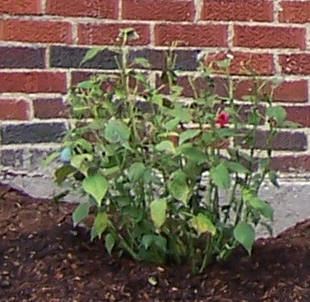
Hibiscus
This plant doesn’t look all that great. Maybe it will grow back better in the spring?
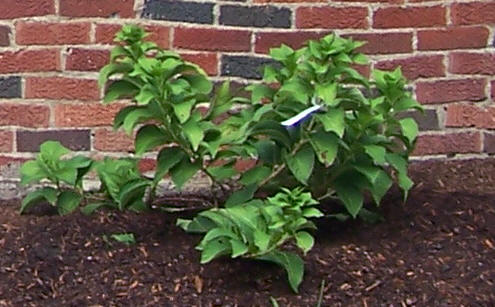
Nikko Blue Hydrangea
This plant never looked happy. In fact, it looked downright crappy as winter set in.
Boxwood Hacking

My latest project, performed yesterday. We have some overgrown boxwoods on the side of the garage. Normally I wouldn’t complain about these, but they give a great hiding place for someone who wishes to attack people returning home.

They look full in the picture, but don’t let that deceive you. They were actually quite spindly.

Before:

After:

We’re now just going to replace them entirely with a shade loving plant.

Relandscaping, Part 4

Both of my loyal readers have been begging for an update on our landscape project.

Last time I wrote on this, we had just finished preparing the beds. That was a lot of work.

Now I talk about the very end, where we finally install the plants!

This is the truck dropping off the plants.

As with the landscaping materials (mulch, compost, etc.), we were able to get wholesale prices at a major Dallas-area wholesaler thanks to a good contact. Speaking of landscaping materials, you can see that a lot of compost and most of the pine bark mulch was still left.

Here are all the plants sitting in front of the garage:

The whole collection was nicely fragrant.

The first step is to place the plants where they will eventually go.

Alec helped us with this chore:

Next step is to dig a hole for each plant:

In this case, you can see an area where we failed to till in the compost deeply enough. The sand left by the prior prior owners (i.e., 2 owners back) is still there.

It’s hard to tell in this picture, but you need to make sure the top of the root ball is a hair above the surrounding soil level. This ensures the root system gets enough oxygen.

Several hours later, all the plants in the front yard are planted.

Finishing up the side of the house:

See that crepe myrtle in the middle? Man, that was a heavy sucker! We ordered a 15 gallon one, but they gave us a 30 gallon instead. I had to get a neighbor help me set it in place. We just couldn’t do it.

In an earlier post, I said I had to replace a railroad tie that had rotted out. In the pictures at top showing where all the plants had been dropped off, you can see a railroad tie. Here is where I dug out the bad tie and put a foundation of bricks below:

The same spot later on, with the tie in place:

At this point, I still need to amend the soil behind that tie. (I didn’t amend the soil earlier because it would have fallen.)

The back yard was more of the same.